Setting Up Your TEVO Tarantula for Printing
The TEVO Tarantula is a popular and affordable 3D printer, perfect for beginners and hobbyists looking to get into the world of additive manufacturing. Setting up your TEVO Tarantula is the first crucial step. This guide will walk you through the entire process, ensuring you can start printing quickly and efficiently. From unboxing to your first successful print, we’ll cover everything you need to know to get your TEVO Tarantula up and running. This guide assumes no prior 3D printing experience, making it easy to follow along. By the end, you’ll be well-equipped to create your own 3D models.
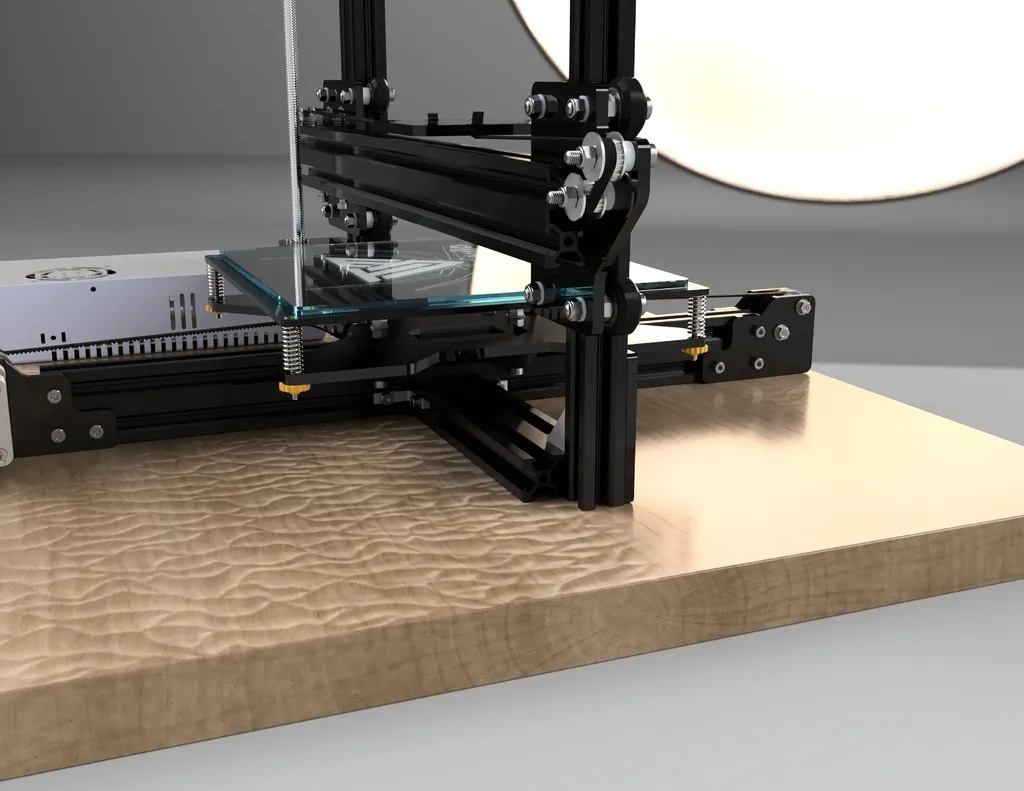
Unboxing and Assembling the TEVO Tarantula
Carefully unbox your TEVO Tarantula, taking inventory of all the parts. The kit typically includes various components such as the frame, heated bed, print head, control board, and power supply, along with necessary screws, tools, and a power cable. Assemble the frame according to the provided manual. This usually involves connecting the various aluminum extrusions to form the printer’s structure. Ensure all screws are tightened securely, but avoid over-tightening. The instructions should clearly outline the correct order and method for assembling each component.
Leveling the Print Bed Correctly

Bed leveling is essential for successful 3D printing. The TEVO Tarantula usually has a manual bed leveling system, although some models might have an automatic system. For manual leveling, you’ll typically find adjustment knobs or screws at each corner of the print bed. Start by heating the bed to your chosen print temperature and then, using a piece of paper, slide the nozzle across the bed. Adjust the bed height at each corner until the nozzle barely grazes the paper with a slight resistance. Repeat this process until the nozzle moves smoothly across the paper at each point. Accurate bed leveling ensures the first layer adheres properly.
Connecting to Your Computer
Connect the TEVO Tarantula to your computer using a USB cable. Make sure the printer’s power supply is turned on. Your computer will need to recognize the printer, so install the necessary drivers. These drivers are often available on the manufacturer’s website or on a provided SD card. Once the drivers are installed, you can use slicing software to send print files to your TEVO Tarantula via USB or by using an SD card, which is a more common method. The control panel on the printer often allows you to select and print files from the SD card directly, meaning you don’t need your computer constantly connected.
Software for 3D Printing
Before you can print anything, you need the right software to prepare your 3D models. This involves two primary steps: slicing and controlling the printer. Slicing software takes your 3D model (usually an STL file) and converts it into G-code, a set of instructions the printer understands. Control software allows you to send the G-code to the printer and monitor the printing process. There are many options available, both free and paid. We will discuss some of the most popular in the following section.
Slicing Software Explained

Slicing software is the heart of the 3D printing process. It ‘slices’ your 3D model into thin layers, generating the G-code the printer uses to build your object layer by layer. Popular slicing software options for the TEVO Tarantula include Cura, Simplify3D (paid), and PrusaSlicer. These programs allow you to adjust print settings like layer height, infill density, print speed, and temperature. Understanding these settings is crucial for achieving the desired print quality. The user interface enables you to preview each layer of your model, ensuring that you understand how the printer will create it.
Recommended Slicing Settings
Optimal slicing settings depend on the filament used and the desired print quality. However, some general recommendations apply. For beginners, start with a layer height of 0.2mm, a print speed of 50-60 mm/s, and a nozzle temperature based on the filament (typically 200°C for PLA). Set the bed temperature according to the filament manufacturer’s recommendations (typically 60°C for PLA). Use a 20% infill for most objects. Adjust these settings based on your filament and the specifics of your model. Experimenting with these settings will help you get the best results from your TEVO Tarantula. Always check the filament’s recommended settings.
Preparing Your First Print
Once you’ve assembled your printer and installed the necessary software, you’re ready to print. The initial setup is the most crucial step. Choosing the right filament and calibrating your printer can make all the difference. We’ll break down each of these steps so you can start printing with confidence.
Choosing Your Filament

The choice of filament is paramount to printing success. PLA (Polylactic Acid) is a popular choice for beginners due to its ease of use and low printing temperature. Other filaments include ABS (Acrylonitrile Butadiene Styrene), PETG (Polyethylene Terephthalate Glycol), and TPU (Thermoplastic Polyurethane). Each filament has different properties and requires specific temperature settings. PLA is generally good for simple models, while ABS is more durable and can withstand higher temperatures. Choose a filament that suits your project’s requirements, paying attention to the filament’s recommended printing temperatures and bed adhesion needs.
Loading the Filament
Loading filament involves feeding the filament spool into the printer’s extruder. The TEVO Tarantula has a specific method for loading the filament. Most systems involve feeding the filament through a tube to the hot end. Heat the nozzle to the recommended temperature for your filament type and then insert the filament. The extruder motor will grab the filament and feed it through the nozzle. Ensure the filament is flowing smoothly and consistently. Watch for any obstructions. Once the filament extrudes, you are ready to print.
Starting Your First Print
After setting up your printer, you are ready to start your first print. Upload your G-code file to the printer via SD card or USB. Select the file from the printer’s control panel. The printer will preheat to the set temperatures for the bed and the nozzle. Once the temperatures are reached, printing starts. Observe the first layer carefully to ensure that it adheres to the bed correctly. If the first layer doesn’t stick, immediately stop the print and adjust the bed leveling and Z-offset.
Monitoring the Print

During the printing process, it is important to monitor the print. Check that the layers are being deposited correctly, that the nozzle is not clogged, and that the print is not detaching from the bed. Look for any irregularities in the print. Check for any bed adhesion problems, which can be caused by several factors, including incorrect bed leveling, incorrect temperatures, and a dirty print bed. If you find problems, you might need to adjust the settings or stop the print. Once the print is finished, allow it to cool down before removing it from the bed.
Troubleshooting Common Printing Issues
Even with careful setup, you may encounter issues. Here are some troubleshooting tips to help you resolve common problems.
Bed Adhesion Problems
Bed adhesion problems are a common issue. The first layer often determines the print’s success. If the print doesn’t stick to the bed, the print will likely fail. Ensure the bed is properly leveled. Clean the print bed with isopropyl alcohol to remove any oils or residue that can prevent adhesion. You can also use an adhesive such as glue stick or a specialized bed adhesive. Adjust the bed temperature to improve adhesion, especially for materials like ABS. Also, increasing the initial layer height can help with adhesion, pushing the filament to the bed more.
Nozzle Clogging

Nozzle clogging can occur due to impurities in the filament or incorrect printing temperatures. If the nozzle is clogged, the filament won’t extrude correctly. You can try to manually clear the nozzle by heating it to printing temperature and pushing a needle or a thin wire through it. Alternatively, perform an ‘atomic pull’ by heating the nozzle and pulling the filament out. The atomic pull removes any debris from the nozzle, but it can also damage the hot end. Prevent clogs by using high-quality filament and ensuring your printer settings are correct. Also, consider a nozzle cleaning kit if problems persist.
Layer Shifting
Layer shifting happens when the printed layers are not aligned properly, causing the model to appear distorted or shifted along the X or Y axes. The causes of layer shifting include loose belts, high print speeds, or obstructions in the printer’s movement. Make sure the belts are tight and the pulleys are secure. Reduce the print speed, especially when printing detailed models. Check for anything that might be preventing the print head from moving smoothly. Regular maintenance, such as lubricating the rods, can minimize layer shifting.
Post-Processing Your Prints
Once your print is complete, some post-processing may be needed to remove support structures, and to smooth the surface, and clean the prints. These steps will help your prints look the best.
Removing the Print from the Bed

Allow the print and bed to cool down before attempting to remove the print. This helps to prevent damage to the print or the bed. If the print is difficult to remove, gently use a scraper or spatula. If the bed is removable, you can flex it to release the print. Be careful not to scratch the bed surface during the removal process. Some filaments, like ABS, tend to contract when cooled, making the print detach from the bed, but PLA is less prone to this.
Cleaning and Finishing the Print
Once the print is removed, you can clean up any support material or imperfections. Use a deburring tool, hobby knife, or sandpaper to remove support structures and smooth rough edges. Sanding can improve the surface finish. Be aware that the level of finishing that is required will depend on the quality and function of your print. Consider using a filler primer to fill in any imperfections before painting the print. If your model needs painting, use appropriate paints and sealing methods to enhance the visual appeal and durability.
Conclusion
Printing with a TEVO Tarantula is an exciting venture, but it does require a degree of patience and willingness to learn. By following this beginner’s guide, you’ve learned the essential steps, from setup and slicing to troubleshooting. Remember, practice makes perfect. Do not be discouraged by initial problems. Every failed print is a learning opportunity. As you gain experience, you’ll develop your skills and understanding of how to achieve incredible prints. Enjoy the journey of 3D printing, and continue to experiment with different settings and filaments to get the best results from your TEVO Tarantula.